Image to Video AI: How to Turn a Photo Into a Video
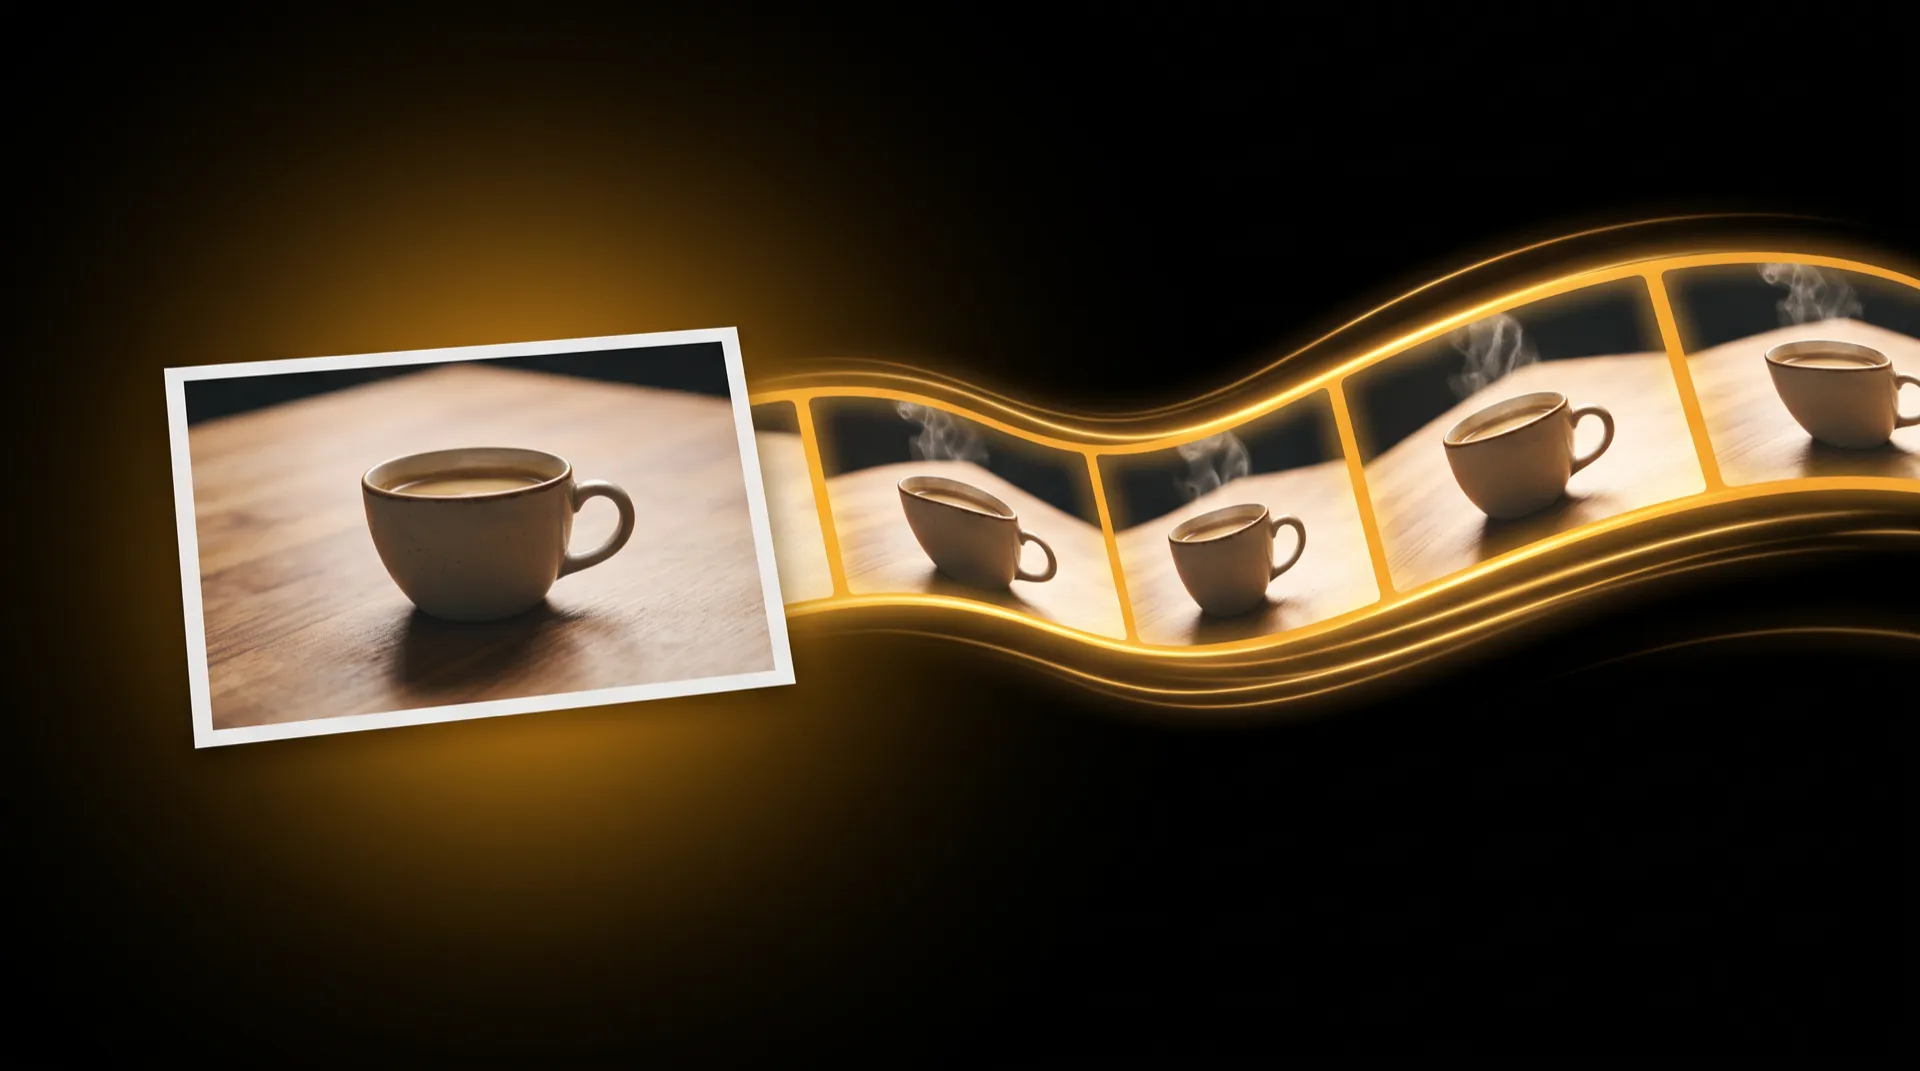
Image to video AI turns one still photo into a short moving clip: you upload the photo, describe one camera move (an orbit, a slow push in, a drone rise), and a video model generates the frames in between. The photo you start with and the single move you ask for decide most of the result. This guide covers both, step by step, in a way that works in any tool, then shows the short way in MeetNour.
What image to video AI actually does
A video model takes your photo as the start frame (or sometimes the end frame) and predicts how the scene would look as the camera moves or the subject moves. It is not animating your photo layer by layer. It is generating new frames that have to agree with the first one.
That has two consequences:
- Everything the camera reveals that was not in your photo (the back of a product, the side of a face, the room behind) is invented.
- The less the model has to invent, the more the clip looks like your photo.
Keep that in mind and the rest of this guide follows from it.
Step 1: Choose a photo that animates well
The source photo matters more than the prompt. A good one has:
- One clear subject. One product, one person, one building. Two subjects compete for the camera.
- A subject that fills a good part of the frame. If the subject is a tiny figure in a wide landscape, the model has very few pixels to keep consistent.
- Room around the edges. A face cut off at the frame edge, or a bottle touching the border, leaves the model to invent the missing half as the camera moves.
- A calm background. Busy patterns, crowds, text and signage tend to warp or shimmer once they move.
- Clean light. Soft, even light holds up better than harsh mixed light with deep shadows.
- Decent resolution. A sharp, well-exposed photo gives the model more to hold on to than a compressed screenshot.
If your best photo breaks one of these rules, crop it, or regenerate the still first and animate the clean version.
Step 2: Pick one camera move for the job
The most common mistake is asking for several moves in one clip (“orbit, then zoom, then fly up”). Ask for one camera idea per clip. If you need more, make several clips and cut them together.
Match the move to what you are showing:
| Subject | Moves that usually work | Why |
|---|---|---|
| Product | Orbit, push in, macro | Shows form and detail; the product stays the hero |
| Portrait | Slow push in, shallow depth, close up | Adds life without making the model invent the back of the head |
| Place (room, building, landscape) | Drone rise, establishing shot, pull out | Reveals scale and context |
| Fashion | Orbit left or right, low angle, hero shot | Shows the outfit and the silhouette |
| Food | Top down, macro, slow push in | Shows texture, the way food is usually shot |
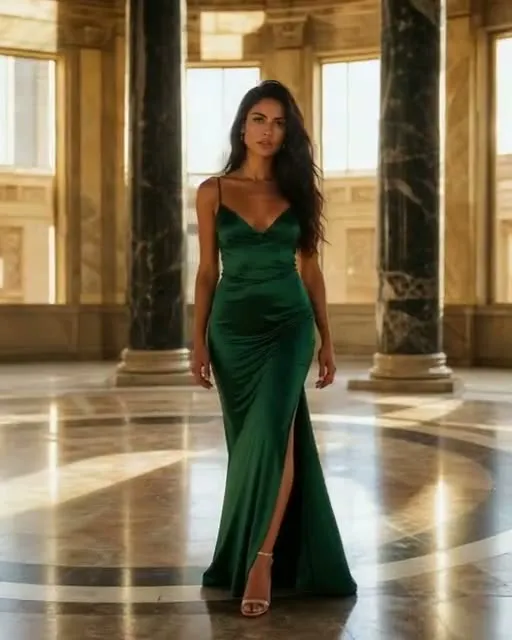
A note on orbits: a full 360-degree orbit asks the model to invent the entire back of your subject. A partial orbit (left or right, roughly a quarter turn) is far safer for products and people. For the names and uses of the common moves, see our reference to AI camera movements.
Step 3: Write the prompt (if your tool needs one)
If your tool has no presets, describe the move in plain words, with the camera leading the sentence:
“Slow push in: the camera moves steadily toward the woman, from a medium shot to a close-up. She stays still and keeps her pose. Keep the scene, colors and lighting exactly as in the photo. Smooth, realistic motion. No text.”
Three habits help:
- Put the camera move first. Models pay most attention to the opening words.
- Say what stays still. If only the camera should move, say the subject holds the pose from the photo.
- Ask for nothing new. “Keep the scene exactly as in the photo; nothing is added or removed” reduces invented objects.
Step 4: Use start and end frames
Most image-to-video models treat your photo as the first frame. Some also accept an end frame, and that opens two useful options:
- Photo as the last frame. The clip ends exactly on your photo. Great for a reveal: the camera arrives at the shot you already like.
- Two photos, start and end. The model moves from one image to the other, for example from a product on a table to the same product in a hand, or from one location to another.
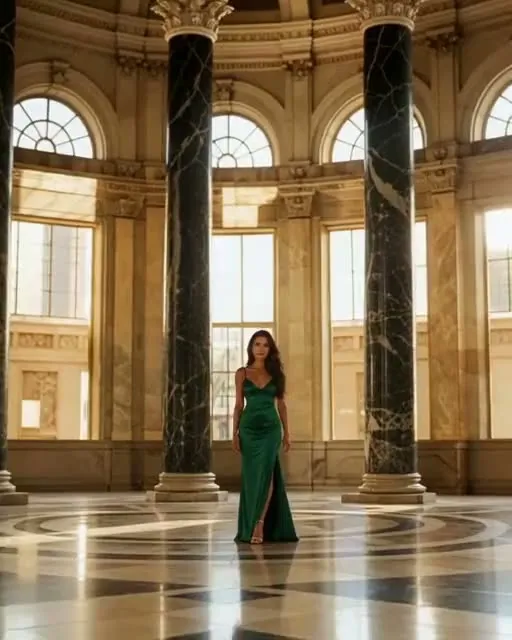
On paper, Kling 3.0 and Seedance 1.5 Pro both accept a start frame and an end frame. When you use two frames, keep the subject, light and framing close between them; the further apart they are, the more the model has to invent in the middle.
Step 5: Generate short, then review
Start with a short clip and a lower resolution if your tool offers it. Check three things before you spend more:
- Identity. Does the face or product still look like the photo in the last frame?
- Edges. Are hands, logos and product edges stable, or do they melt?
- The move. Did the camera actually do what you asked, or did the subject move instead?
If one of these fails, change one thing (the photo, the move, or the prompt) and try again. Changing all three at once tells you nothing.
Common failures and how to avoid them
| Problem | Usual cause | Fix |
|---|---|---|
| Background warps or swims | Busy pattern, crowd or text behind the subject | Use a calmer photo, or crop tighter |
| Face changes halfway | Face is small, or the move shows an angle the photo never had | Use a closer photo; choose a push in instead of an orbit |
| Half a face or product appears from nowhere | Subject cut off at the frame edge | Leave space around the subject |
| The person walks instead of the camera moving | Prompt describes action, not camera | State that the subject holds the pose; lead with the camera move |
| Mushy, chaotic clip | Too much motion requested | One move per clip; slower wording (“slowly”, “steadily”) |
| Logo or text distorts | Small text in motion | Keep text large, or add it later as an overlay |
The short way: Cinematic Shots in MeetNour
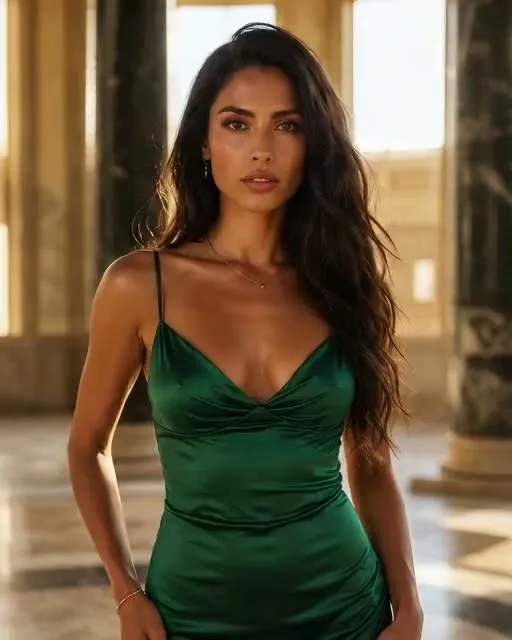
MeetNour is an AI production team in one tool, and Cinematic Shots is the studio built for exactly this job. You drop a photo (or a short video), tap a camera move, and get a clip.
- 50 one-tap moves in five groups: camera moves, focus and lens, speed and motion, signature shots, and effects. Each card has a preview clip, so you see the move before you use it.
- The prompt is written for you. Each move carries its own camera direction, including the “subject holds the pose” and “nothing added or removed” rules from Step 3.
- First frame or last frame. On moves that support it, you choose whether your photo is the first frame or the last frame of the clip. The Cinematic transition move takes a second photo and moves from one into the other.
- An optional note such as “at sunset”, “slower” or “keep the logo sharp”.
- Nour picks the model for the move and shows its name, and the price is on the button before you generate.
Cinematic Shots also includes AI Hooks (one person, speaking one line you type, dropped into an attention-grabbing scene) and Multicam (one take becomes a multi-shot edit).
Want the same person in many clips? Build them once as talent in the Casting Room; our guide to consistent AI characters explains how.
Where the clip goes next
A single clip is rarely the finished piece. Two common next steps:
- Add captions. Drop the clip into Caption Studio for automatic transcription and animated caption styles, then export with the captions baked in.
- Make it part of an ad. In Director Room you write a brief and get three concepts, a storyboard, video clips and a final video with voiceover and music, one button per step.
MeetNour is launching soon: join the waitlist to try Cinematic Shots on your own photos.
Publishing AI-generated content that looks real? Many platforms and laws require you to label it as AI-generated.
FAQ
Can AI turn any photo into a video?
Most photos can be animated, but the result depends on the photo. One clear subject, space around the edges, a calm background and clean light give the best clips. Busy backgrounds, tiny subjects and faces cut off at the edge are the usual causes of bad results.
How long are image to video AI clips?
Most image-to-video models make short clips, usually a few seconds long, and some newer models go further; Seedance 2.5, for example, lists clips of up to 30 seconds. For a single camera move, a short clip is usually enough. Longer pieces are normally built from several clips cut together.
What is the best camera move for a product photo?
An orbit or a slow push in usually works best for products, because both show form and detail while keeping the product as the hero. A partial orbit (left or right) is safer than a full 360-degree orbit, which forces the model to invent the back of the product. A macro move suits textures and small details.
Why does the face change in my AI video?
Faces drift when the face is small in the photo, or when the move shows an angle the photo never had, so the model has to invent it. Use a closer, sharper photo and a gentler move such as a slow push in. For the same face across many clips, build the person once from a reference set.
Do I need to write a prompt to animate a photo?
In most general video tools you do, and the camera move should lead the prompt. In MeetNour’s Cinematic Shots you tap a move instead, and the camera direction is written for you. You can still add a short note such as “slower” or “at sunset”.

Write a brief.
Get a full campaign.
MeetNour is your AI production team in one tool: images, videos, AI avatars, cinematic shots, voiceovers and captions, with your brand in every generation. A short shelf of leading AI models, kept current — Nour picks the right one for each job, or you choose.